How Can We Help?
How to set up Airmail on Apple iOS
This article demonstrates how to set up Airmail on Apple iOS to access an XauZit Cloud e-mail account.
To configure Airmail to work on iOS with your XauZit Cloud e-mail account, follow these steps:
- Make sure you have already created at least one e-mail account for your domain. If you have not done this, please see this article to learn how to create an e-mail account using cPanel.
- Start Airmail. The Add Account dialog box appears:
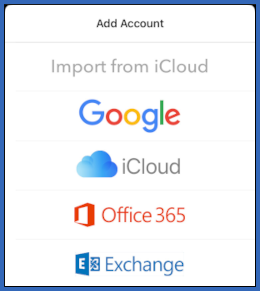
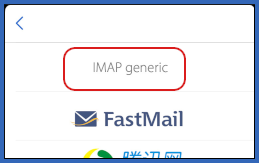
- Select one of the following protocols:
- If you want to use IMAP, select Generic IMAP.
- If you want to use POP3, select Generic POP3.
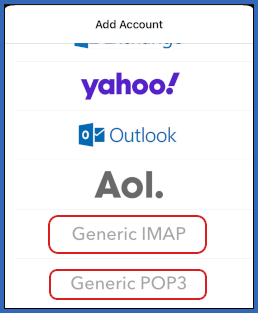
- Tap IMAP generic or POP3 generic:
- In the Name text box, type the name you want to appear on messages you send from the account:
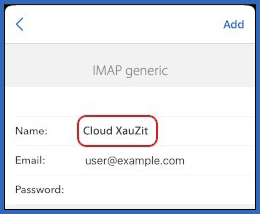
- In the Email text box, type the e-mail address of the account you created in cPanel.
- In the Password text box, type the password for the e-mail account you created in cPanel.
- Tap Add.
- Under INCOMING MAIL, specify the server:
- If you are using IMAP, in the IMAP text box, type mail.example.com, where example.com represents your domain name.
- If you are using POP3, in the Pop text box, type mail.example.com, where example.com represents your domain name.
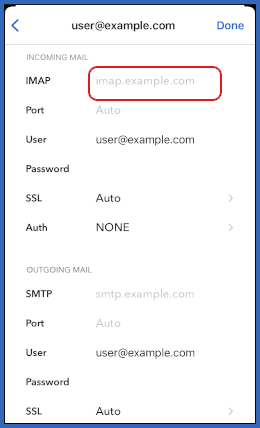
- Specify the port number:
- If you are using IMAP, in the Port text box, type 993.
- If you are using POP3, in the Port text box, type 995.
- Confirm the SSL list box is set to Auto.
- Confirm the Auth list box is set to NONE.
- Under OUTGOING MAIL, in the SMTP text box, type mail.example.com, where example.com represents your domain name:
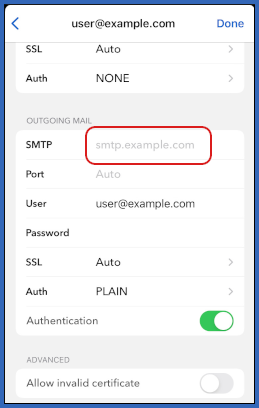
- In the Port text box, type 465.
- Confirm the SSL list box is set to Auto.
- Confirm the Auth list box is set to PLAIN.
- Confirm the Authentication slider is enabled.
- Tap Done. Airmail tests the configuration.
- If the configuration test is successful, tap the slider to agree to the terms of use and privacy policy:
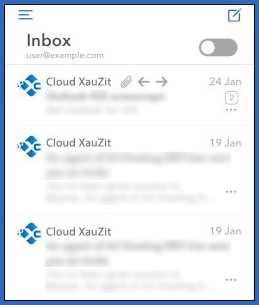
- Tap Continue. Airmail downloads any messages in the account, and the inbox appears: